Showing posts with label DIY. Show all posts

Thursday, 22 December 2011

Getting into the Christmas spirit!


It’s about time that this blog joined the all consuming Christmas hype...and what better way to get into the Christmas spirit than with a great DIY project!

By joining my widely proclaimed enthusiasm for all things handmade with my somewhat questionable sewing skills I was able to create this pretty Christmas inspired headband! If I can do it, anyone can do it...so here’s my step by step guide!


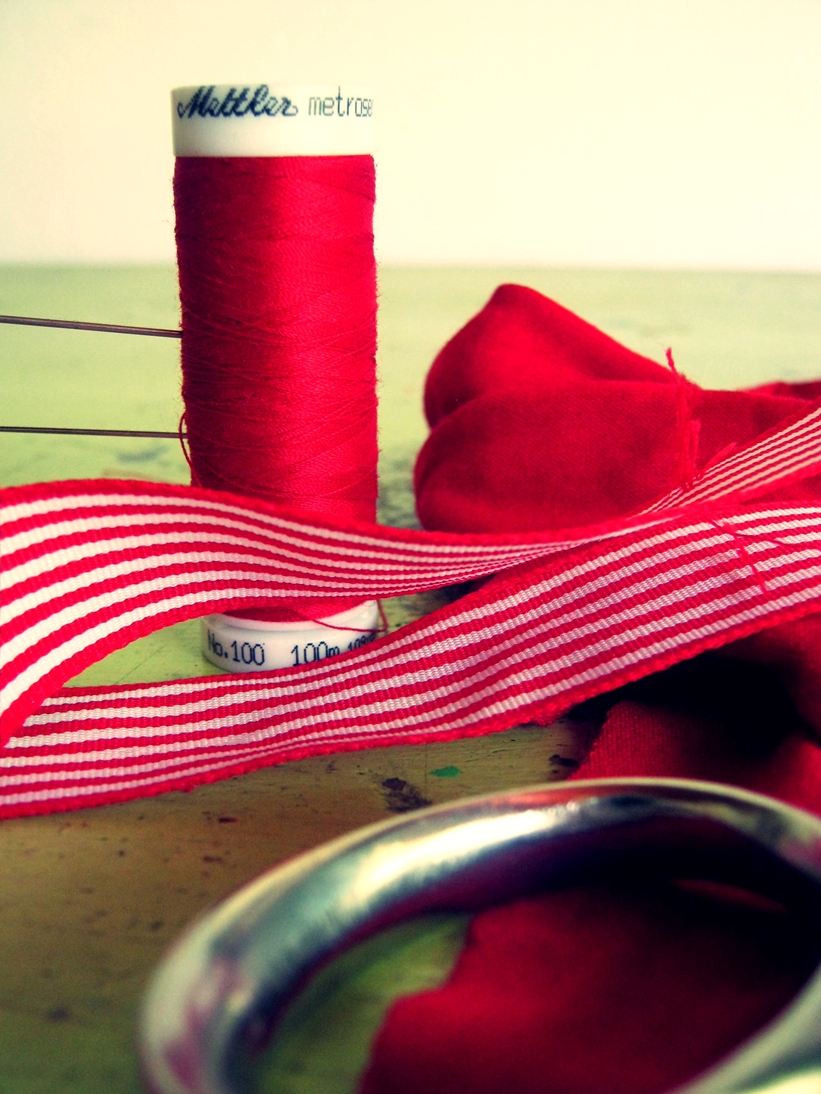
1.     Gather your tools. You’ll need:
A piece of stretchy material
A ribbon to match
Needle and thread
Scissors
2.     Measure and cut the length of material you’ll need.
3.     Use a pin to indicate where you should cut.
4.     Keep at least a centimetre at the one end.
5.     Fold the excess material at the end up to the pin.
6.     Now pin the two ends to form a circle. The folded end should stay folded.
7.     Sew the two ends together as you’ve pinned them.
8.     Once you’ve finished sewing, stretch the material to check the strength of the bond. (The sewing itself doesn’t have to be perfect, as you can see from my own lopsided attempt. In the end this part will be at the back of your head!)
9.     Measure a piece of ribbon for the bow.
10. Fold a pretty bow with the ribbon.
11. Cut the excess.
12. Secure the bow by sewing the knot.
13. Put the headband on and measure where you’d like the bow to be. Indicate the placement with a pin.
14. Now sew the ribbon onto the headband.
15. Pinning the ribbon onto the headband while sewing will make this part alot easier!

And there you have it...your very own DIY Christmas spirit headband in a few easy steps! Why not make a few of these for easy, affordable gifts?

Wednesday, 7 December 2011

Tie the knot!


I recently discovered a random piece of material lying around my room that’s too long to be a scarf and too thick to be a belt. As you know I have hard time letting anything go without first trying to incorporate it into my wardrobe, hence the pair of keys I turned into a necklace in a previous post. So I decided to transform it into a necktie/necklace type accessory that works perfectly to spice up a dull outfit or a monochrome t-shirt! So here’s my step by step guide to the necktie/necklace:


1.     Take a long piece of material. (In hindsight I realised a thinner, more stretchy material would possibly work better!) and let it hang around your neck.
2.      Loop the material loosely around your neck.
3.      Take the two ends and tie it onto a knot.
4.     Position the knot at a slightly tilted angle or tie a pretty bow.
And there you have it...another creative DIY project by pretty little pigeons!


Saturday, 5 November 2011

If the key fits...


I was busy tidying my room (which could also be translated into serious procrastination and avoidance of studying) when I found a bunch of old keys lying around. Don’t we all have those? Keys lying around that’s been long forgotten, know one knows where they fit or who they belong to?

I swiftly decided to put the forgotten keys out of their misery and put them to good use! I took an old chain I also had lying around (yes, I’m quite the hoarder...) and turned my unused keys into a beautifully unique accessory.

If the key fits...why not wear it around your neck?

Tuesday, 18 October 2011

Pretty little hair bow.

Today I present to you a hairstyle as seen on the catwalks and on one of my favourite blogs A Beautiful Mess...the cute and enchanting hair bow! It’s pretty easy to style; all you’ll need are two hair elastics and a bunch of clips.
Start by tying a section of your hair back with an elastic. Keep in mind, the larger the amount hair you tie back, the bigger the bow will be! When tying the hair don’t pull the hair straight through, keep a bubble as shown in the photograph. Do the same with the remaining piece of hair using the second elastic. Now simply cover the elastics with another piece of hair and pin into place...And there you have it...DIY catwalk style in no time!

Wednesday, 12 October 2011

Fanning the flames...


Louis Vuitton, Kenzo and Chanel all showed Asian influences in their Spring/Summer 2011 collections and the oriental trend continues as a hot trend for the current season. However I don’t really see myself donning a floor-length silk Chinese gown before heading out to class! To solve this little trend dilemma I’ve decided to roll up my sleeves and try another one of my DIY projects! I’ve made myself DIY origami fan earrings...perfect for keeping things neutral yet trendy!

All you’ll need is a piece of pretty paper (I just used a page from a magazine, but you can use thick wrapping paper, newspaper or any paper that has an eye-catching pattern on both sides) and a piece of string. I bought this pretty golden string at Ruby’s Haberdashery in Brooklyn!
Then you follow the instructions for folding a Japanese origami fan shown below. Once you’ve folded your little fan, simply pierce the top part of the fan with a needle and insert the earring hook there.


Related Posts Plugin for WordPress, Blogger...